In the last article , we introduced Dialogflow, which is an end-to-end tool powered by Natural Language Understanding to facilitate rich and natural conversations. In this article , we will continue to build our conversational agent for the pizza ordering example by exploring context and fulfillement features in Dialogflow
1. Context
 Have you ever experienced a situation where you walk up to a group at the moment for a strange comment and you catch yourself trying to make sense of what they might be talking about? If a friend comes to you and says, “What about tomorrow?” How do you react? You would probably ask them, “What are you referring to?”
That reaction comes from you like context.The same happens to agents. Knowing in which context the user is allows for less repetition. One example is if I ask,”What should we have for lunch today?” .The other party response say, “Sandwich.” Then if I ask, “What about dinner?” I would expect that the other person knows I’m referring to what we are going to eat and not what time we should be heading out for dinner for example. These awareness can be provided to the agent through contexts.Contexts allow the agent to keep track of where the user is that in the conversation. In the context of Dialogflow, there are also a means for an application to restore an access variables mentioned in a dialogue. In this example, if the sentence actually make that two hours is that our context,that is no way the agent can know that the user is referring to the pickup times for the pizza order. Contexts allows the agent to control conversation flows. This can be done by defining specific states that the dialogue must be in for an intent match.For example, Dialogflow matches an intent if what the user says resembles the provided training phrases for that intent.
However, when you apply context to an intent, Dialogflow will only consider that intent for matching if the context is active. This is one of the purposes of the input context. If an input context is applied to an intent, it tells Dialogflow to match the intent only if the user’s sentence is a close match and if the context is active.
Another type of context is output contexts. When applied to an intent, an output context tells Dialogflow to activate a context if it is not already active or to maintain the contexts active after the intent matched. This allows the agent to control the conversation flow.
2. Fulfillement
Up to this point, you learned how to create flows for a conversation between the agent and the user. You’ve learned how to create intents, annotate them with relevant entities and how to keep the context of the conversation. Now, what if you want to allow the agent to do more than that? What if you decide to persist the pizza ordered to a database? Which will allow the agent to provide prices of items stored in the database.You can achieve that with fulfillment. Fulfillment is the mapping of an action using code that is deployed outside of dialogue flow. These allows your agent to execute external business logic on an intent by intent basis. Upon the detection of an intent which corresponds to an action that needs to be taken, the agent should be enable to talk to external systems in order for the actions to be fulfilled. We can write code for these communication, we think that console or using an IDE of choice.
3. Implementation
In this section, we will continue working on your pizza ordering chat agent ( see first article ) and add context as well as setup fulfilment to store order entries in Datastore.
We will perform the following tasks:
- Add input and output context to the order.pizza intent to maintain continuity
- Setup fulfilment as Cloud Functions code for the agent to be able to store orders in Datastore
Task 1. Connect to GCP and Dialogflow
The first step is to connect to your GCP account , in section API , type “ Dialogflow” and then enable the service . Next , connect to dialogflow !
Task 2. Import your Dialogflow agent
In the previous article, you had exported out the Dialogflow agent you had started building. You will now import it back and continue building it. If you have not completed the first article , you can download directly the zip bot from this link
- In a new browser tab, go to http://dialogflow.com.
- Click Go to Console in the upper-right corner.
- When prompted, click Sign in with Google.
- Allow Dialogflow to access your Google Account generated from Qwiklabs (ex: gcp…@qwiklabs.net), and accept the terms of service.
- On the Dialogflow main menu (on the left), click Create Agent.
- In the form, provide the following values:
Agent Name : pizzaBot
**Google Project : ** Under the IMPORT EXISTING GCP PROJECT heading in the dropdown, select your GCP Project - should be of the form “qwiklabs-gcp-
- Click Create.
- Click on the settings gear icon next to your agent name, and click the Export and Import tab
- Click on IMPORT FROM ZIP and select the zip file from previous lab to import back all the configuration of your agent.
- Click IMPORT
Task 3: Add follow-up intents with input and output contexts
Typically when someone order’s pizza, they may also want to order a drink with it. Alternatively, you as a business want to upsell your drink along with the pizza order. With context, you have an option to continue the dialog and offer your customer to buy a drink.
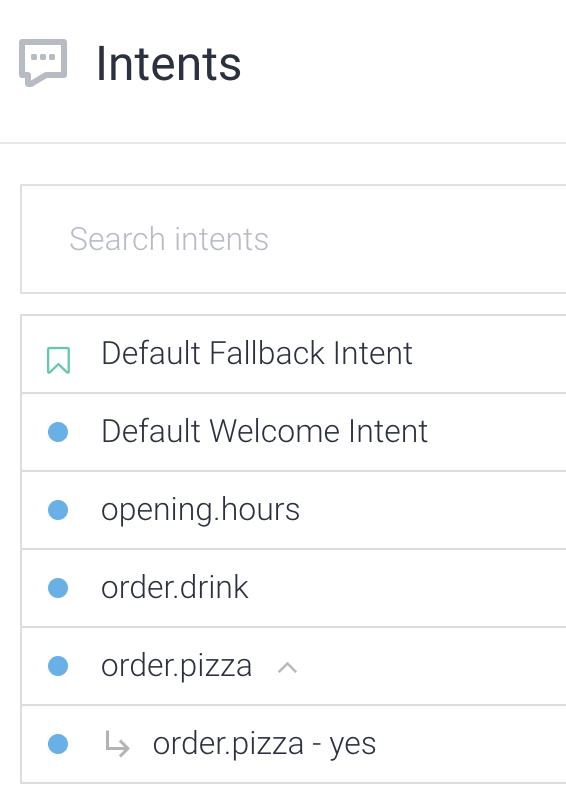
- Click on Intents in the left menu to display the list of intents in your agent.
- Click on your order.pizza intent and change the default response to “We have placed your order for a $size pizza with $pizza_topping. Would you like a drink with that?”
- Click the Save button.
- Go back to your list of intents, and drag your mouse (not click) over the order.pizza intent, and you will notice Add follow-up intent message on the right

- When you click, you will see a drop-down list
- Choose yes (to create a follow-up intent if the customer chooses to order a drink)

- You will now notice a new intent appear under your order.pizza intent with the name order.pizza - yes
- Click on the order.pizza - yes and look at the training phrases. Some typical phrases have already been added. Feel free to add few more like “Sure I’ll add a drink”.
- In the Responses section, add a default response to say something like “Great, what would you like to have ?”
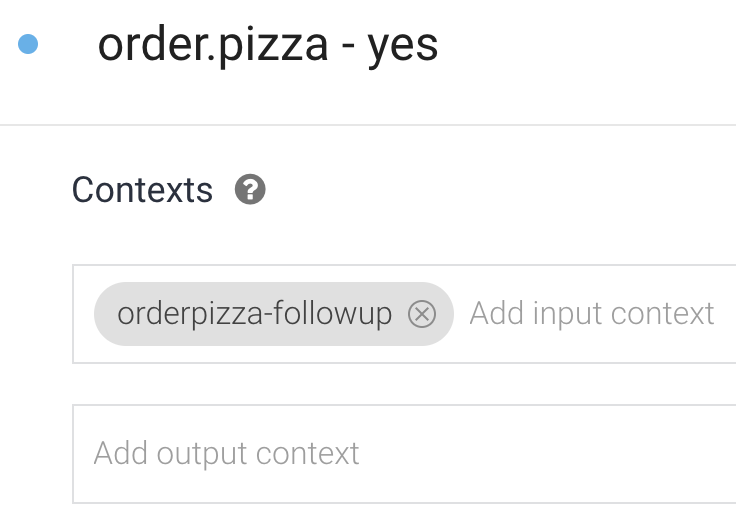
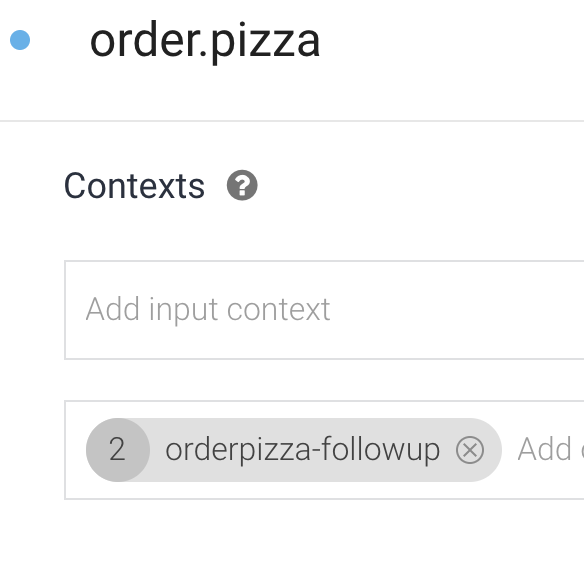
- Also notice that there is now an input context in the Context section.
- Click the Save button.
- Go back to your list of intents and click on the order.pizza intent to confirm that you also see the same context as an output context for the order.pizza intent
- Now we will do the same for a negative response on the drink upsell (i.e. if the customer chooses not to buy a drink)
- Back on your list of intents, drag your mouse (not click) over the order.pizza intent, and you will notice Add follow-up intent message on the right
- When you click, you will see a drop-down list
- Choose no (to create a follow-up intent if the customer does not choose to order a drink)
- You will now notice a new intent appear under your order.pizza intent with the name order.pizza - no
- Click on the order.pizza - no and look at the training phrases. Some typical phrases have already been added. Feel free to add few more if you want.
- In the Responses section, add a default response to say something like: That’s ok. We have placed your pizza order.
- Also notice that there is now an input context in the Context section.
- Click the Save button.
- Go back to your list of intents and click on the order.pizza intent to confirm that you also see the same context as an output context for the order.pizza intent
- Try out in the simulator now to order pizza and then check to see if you get the follow up question to order a drink.
Task 4: Setup fulfilment using Cloud Functions to push order entries into Datastore
So far the agent does a good job communicating with a customer to get their orders and even repeat their orders (with the right parameters) in the end as a default response. However, that order has not been recorded anywhere to enable further possible action. In this section, you will setup fulfilment by adding Node.js code and deploy it as Cloud Function for your agent to store pizza orders into Datastore. This can be used for billing, recording, preparing the pizza order by the kitchen, etc.
- Click on Fulfilment in the left menu
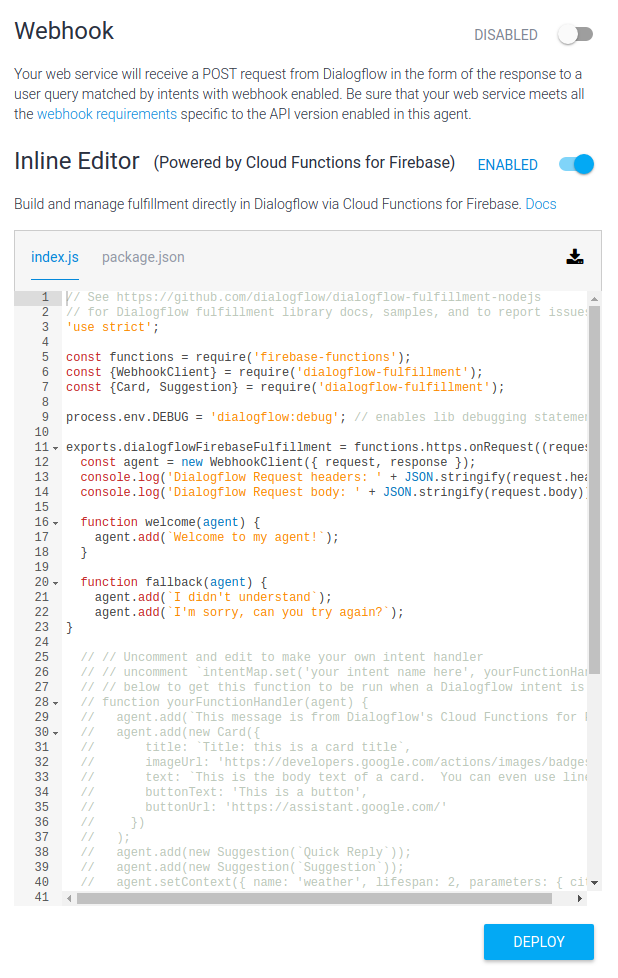
- Next to the Inline Editor option, slide right to enable it. This will enable Cloud Functions editor within your Dialogflow agent.
- Once enabled, you will notice a default template in Node.js
- Click on the package.json tab and notice the name of the function (already provided as default).
- Scroll down to dependencies and add the following line as the first entry
"@google-cloud/datastore": "^0.8.0",
So it looks something like this:

- Click on the Deploy button on the bottom right. This may take a few minutes.
- Once deployment is successful, go into your GCP console, and using the menu on the left, navigate into Cloud Functions to confirm if the function has been deployed (look for the name you noticed in step 4.
- Back in the Fulfilment section of your Dialogflow console, click on the index.js tab
- Again notice that there is already starter code, like functions to handle default welcome and fallback intent. You will first add the following lines below to be able to work with Datastore. Add them after the line that says: process.env.DEBUG = ‘dialogflow:debug’;
const Datastore = require(‘@google-cloud/datastore’); const datastore = new Datastore({ projectId: ‘qwiklabs-gcp-e041da2dde870a17’ });
- Be sure to change the projectId to your projectId.
- Now add the following code below to handle pizza orders:
function order_pizza(agent) {
 var pizza_size = agent.parameters.size;
 var pizza_topping = agent.parameters.pizza_topping;
 var time = agent.parameters.time;
 const taskKey = datastore.key('order_item');
 const entity = {
   key: taskKey,
   data: {
   item_name: 'pizza',
   topping: pizza_topping,
   time: time,
   order_time: new Date().toLocaleString(),
   size: pizza_size }
  };
 return datastore.save(entity).then(() => {
           console.log(`Saved ${entity.key.name}: ${entity.data.item_name}`);
           agent.add(`Your order for ${pizza_topping} pizza has been placed! Would you like a drink with your order?`);

        });
}
You may add this function after the handler functions for welcome and fallback intents.
- Lastly, modify the intentMap to include an entry to handle the order.pizza mapping to the function you just added:
let intentMap = new Map(); intentMap.set('order.pizza', order_pizza); intentMap.set('Default Welcome Intent', welcome); intentMap.set('Default Fallback Intent', fallback); agent.handleRequest(intentMap); - Click the Deploy button to deploy the code.
- Go into the order.pizza intent, all the way down, under Fulfilment, and enable the webhook call for this intent.

- In the same way, enable fulfilment for the Default Welcome and Fallback intents as well.
-
Now try out in the simulator to order a pizza. In the end, notice the response that you get. It should be the same that you had your function produce (below), which is slightly different from your default text response.

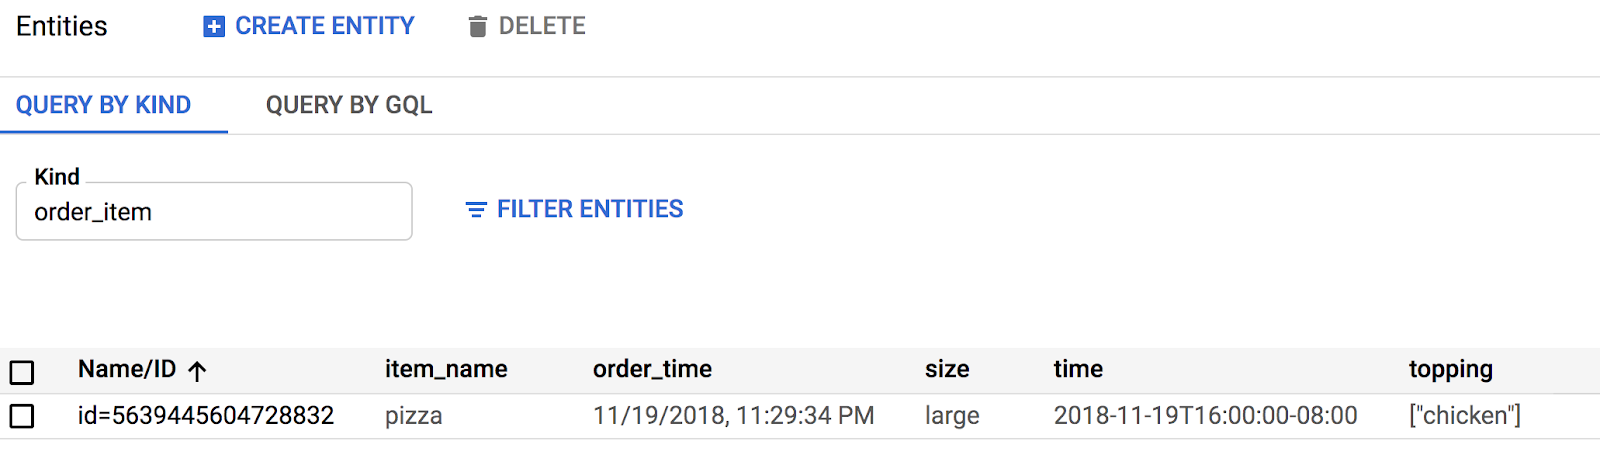
- You can confirm this further by going into your GCP console and using the left menu, navigate to Datastore and you will see the entry for your pizza order.